Demo
See an example of Nuggets authentication integrated with Google’s A2A protocol
demo.
Getting Started
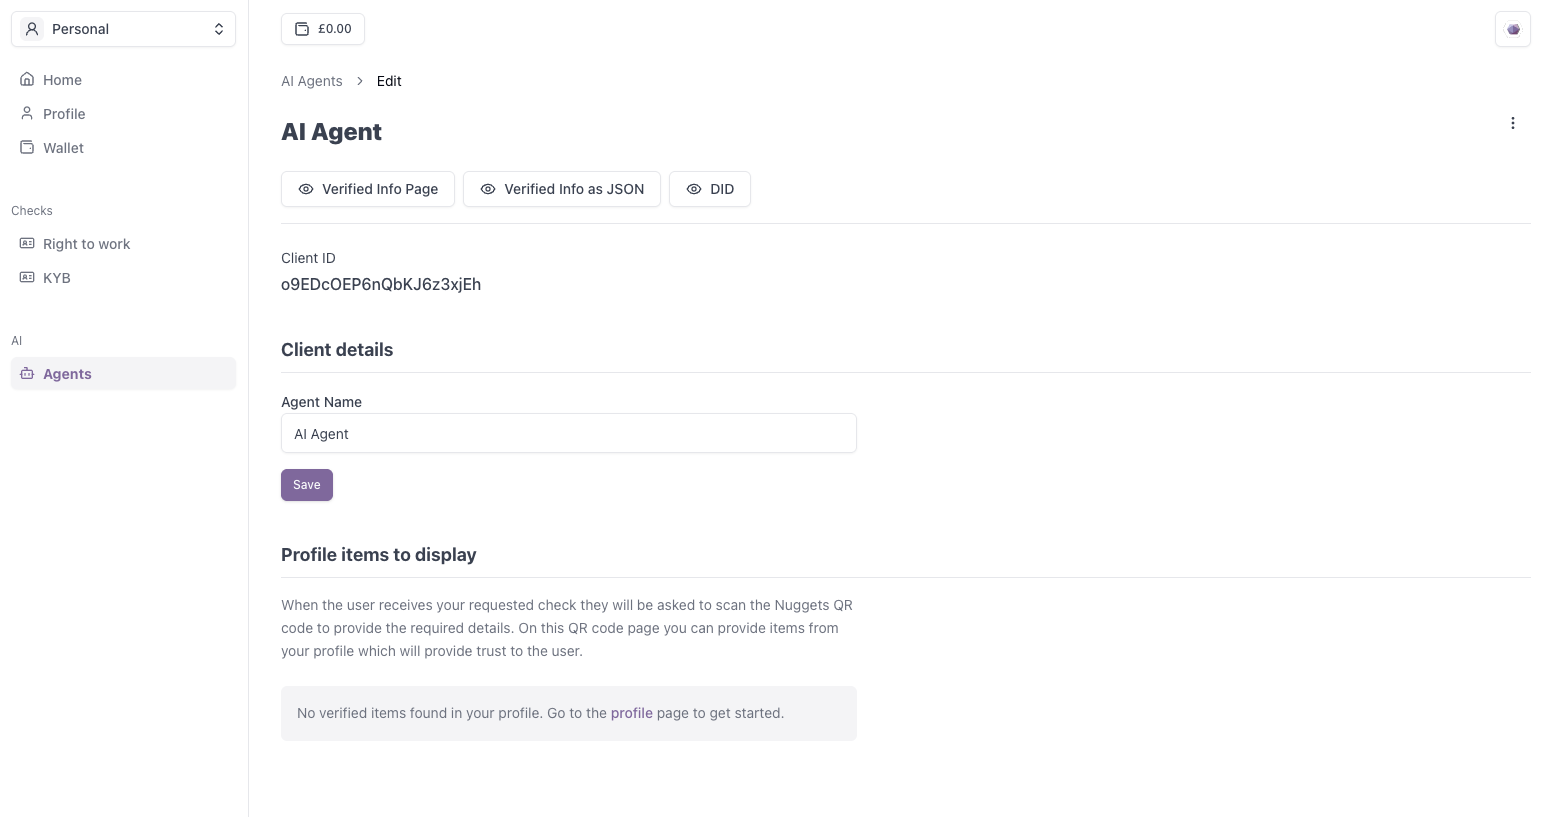
Create an AI Agent
Go to the Nuggets Account Portal and navigate to the AI Agents page to create your first agent.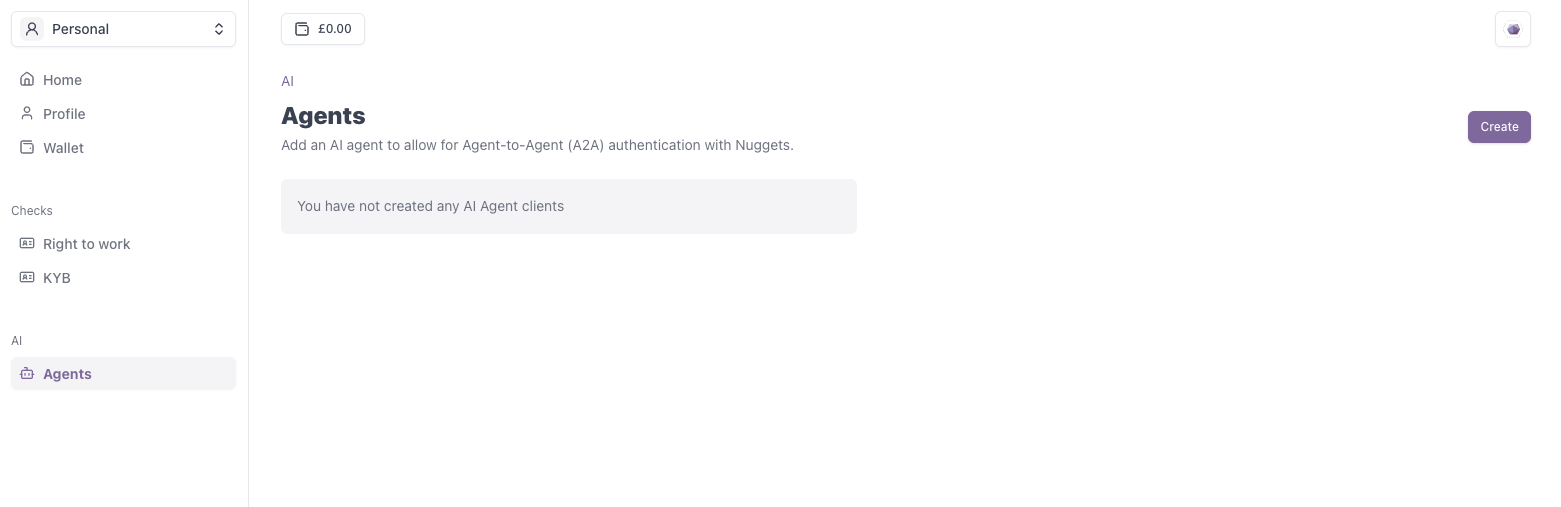
Download Private Key and Save Client ID
Once created, you will be prompted to download the private key for this client. It is important you save this file.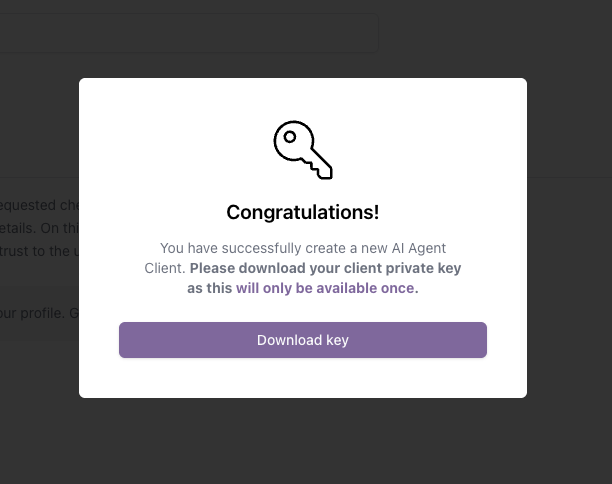
Authenticating The Agent
Now you have created the Agent inside the Accounts Portal, we can use the created details to authenticate the agent.- Using @nuggetslife/auth
- Manual
1. Install the authentication package.
To get started, firstly install the authentication package on theagent and server.agent environment:2. Expose an authentication endpoint on the Agent.
Expose an endpoint on your agent which allows for the JWT token to be generated (viacreateAuthenticationToken). Under the hood, this uses your downloaded private key and assigns the DID to the payload.Create the authentication token on the agent (express example).
3. Verify the token
Once the requestingserver receives the token, you are then able to verify it using the verifyToken function. If successful, this will return the DID Document for the client. If unsuccessful, the agent is potentially a bad actor.Authenticate the agents token.
Verify token response
The DID Document resolved from the DID in the token.
4. Additional Information
Once a successful connection is made, you’re then able to retrieve more information about theagent via the verifiedDetails call. This calls the services that are returned as part of the client’s DID Document.Get Verified Information